You can already start programming in Python if you have at least one (recent edition) of a Python runtime and a word processor at your disposal. When you install the standard Python distribution, a simple development environment called IDLE is shipped. This development environment for Python is completely developed in Python itself.
However, seasoned programmers will use a more advanced development environment when working on large and complex software projects: a so-called Integrated Development Environment or IDE. Examples are the PyDev plugin for Eclipse, Spyder or PyCharm. Note that writing Python programs in these environments still requires programmers. But IDEs provide quite some extra tools to ease the process of writing source code and administer large and complex software projects.
In this Python programming course, we will make use of an IDE called PyCharm (we will only be using features from the free version, , so there is no need to activate a PyCharm pro license).
This development environment has loads of extra features that you cannot find in IDLE, and can be freely and easily installed on any operating system. Below you can read how to install the IDE on your own computer, and some configurations you can do to improve your experience while working with PyCharm. At the end of this document, we give some additional tips & tricks based on our own experience with PyCharm.
Installing PyCharm
To install PyCharm locally, we give the installation instructions below for Microsoft Windows, Linux and macOS.
Windows
-
Go to the PyCharm download page and download the version for your operating system (version 2025.2). We will only be using features from the free version, so there is no need to activate a PyCharm pro license.
-
Double-click the downloaded file.
-
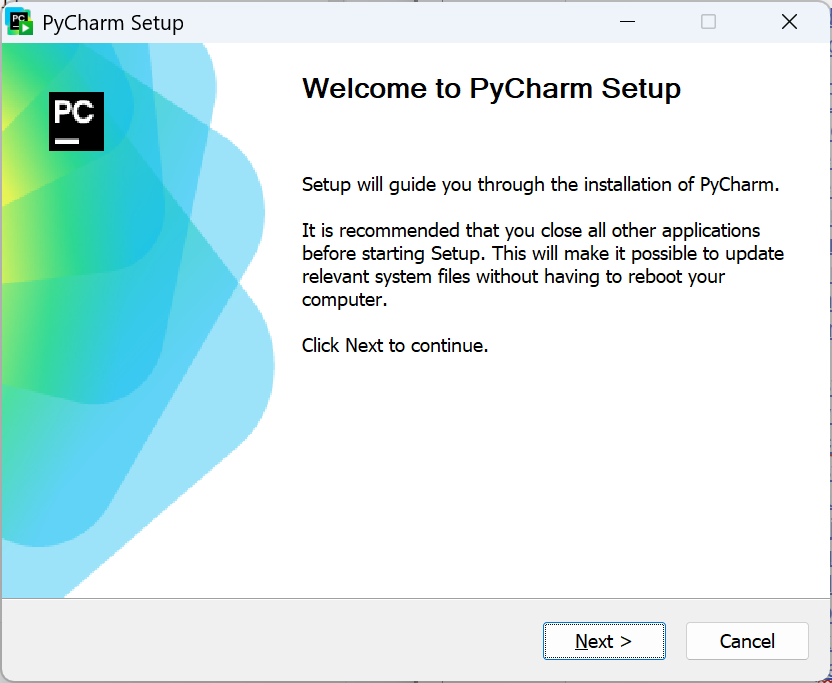
Click Next on the Welcome screen.
-
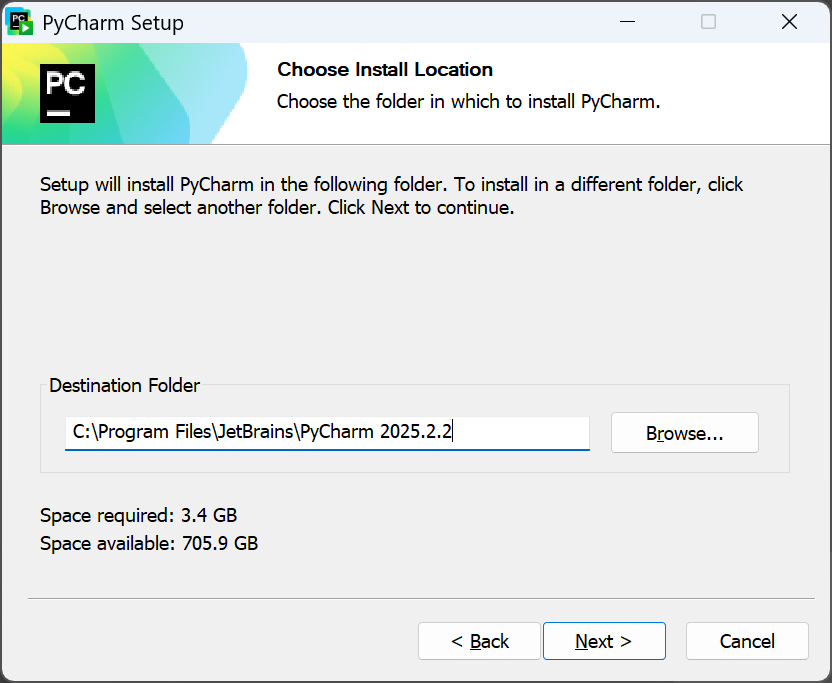
Keep the default Destination folder and click Next.
-
In the Installation Options you can make a desktop shortcut; click Next + Install.
-
Click Finish.
Ubuntu
-
Go to the PyCharm download page and download the version for your operating system.
-
You only need to unpack the downloaded file without installation.
$ tar -xvzf pycharm-*.tar.gz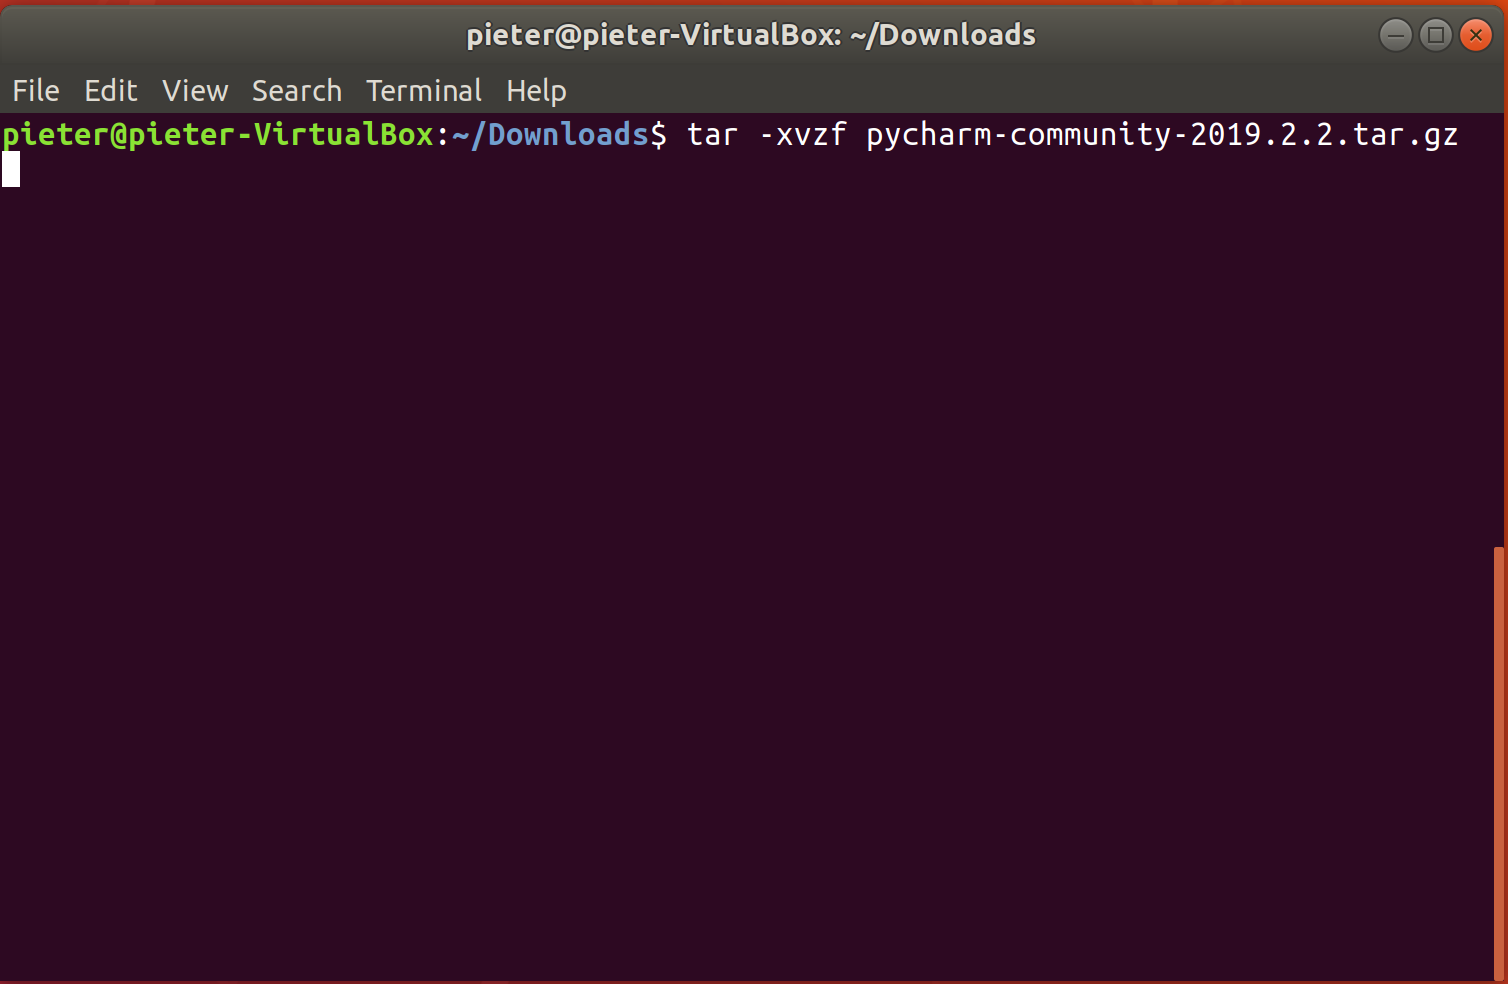
-
Execute the following command to start PyCharm.
$ ./bin/pycharm.sh
Note
It is also possible to install PyCharm using the snap package manager or with the JetBrains toolbox.
macOS
-
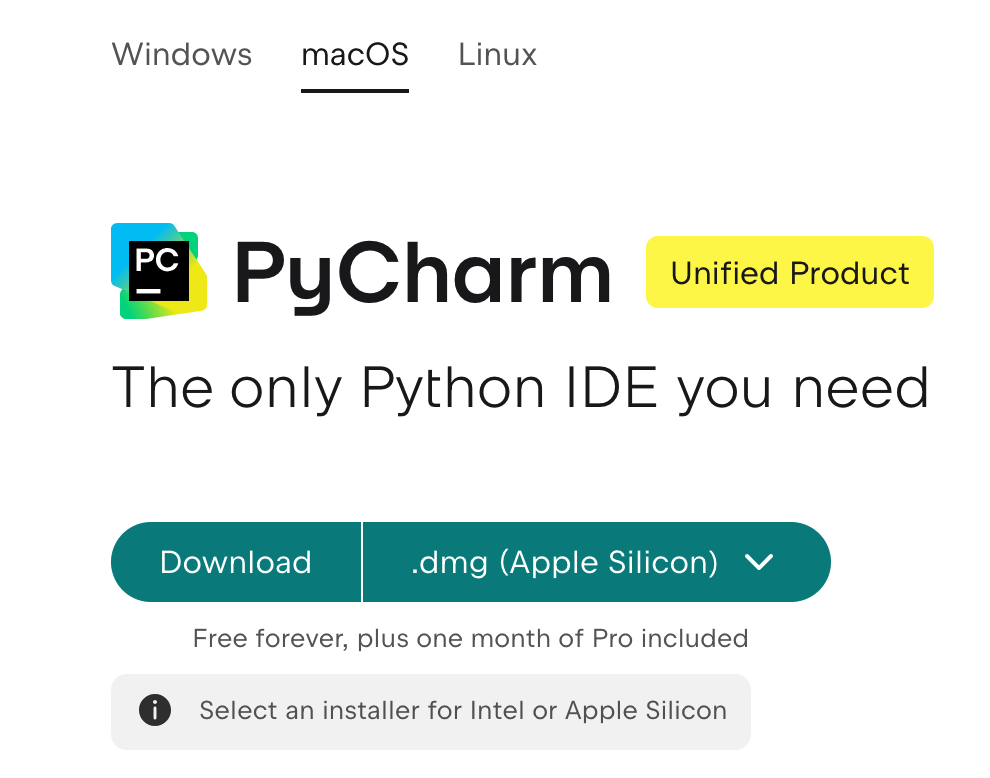
Go to the PyCharm download page and download the version for your operating system. If you are using an older mac (from before 2020) it might be a good idea to use the Intel version. However, for most people the Apple Silicon version will be the best choice.
-
Open the downloaded
.dmgfile and drag the PyCharm icon into the Applications folder.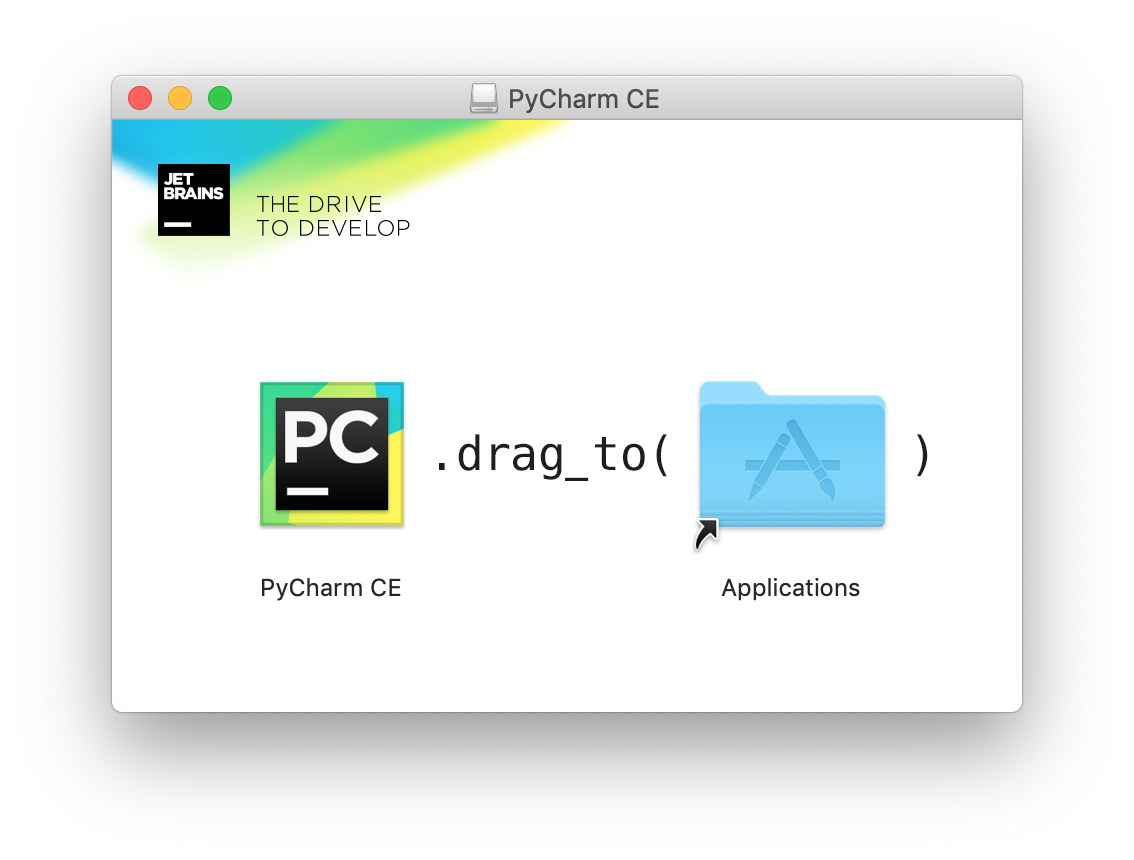
-
You can now find and start PyCharm in the Applications folder or using the Launchpad.
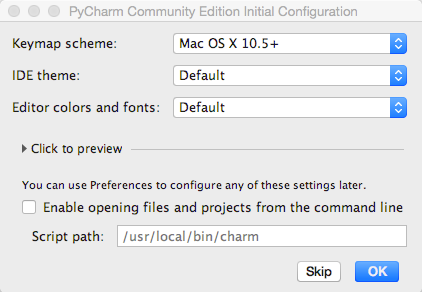
If you start PyCharm for the first time, you’ll see a configuration window that lets you select the color scheme used by PyCharm. You can take the time to select the color screen of your preference, or you can skip this configuration for now as you can always change the color scheme later on.
Configuring PyCharm
The PyCharm IDE (integrated development environment) provides quite some options that you probably will not use immediately as a beginning programmer, but that you might discover as you get along. In addition, the application is highly configurable so that you can adjust it according to your own preferences. After all, each programmer develops his or her own modus operandi. We get you going by recommending some settings that we find useful. Other suggestions can be found online. The PyCharm website is good starting points to find more information.
Configuring the Python interpreter
Usually PyCharm should be able to automatically identify the Python installation that should be used. However, if you have multiple versions installed it is important to choose Python 3 and not an older Python 2 installation that might be on your system.
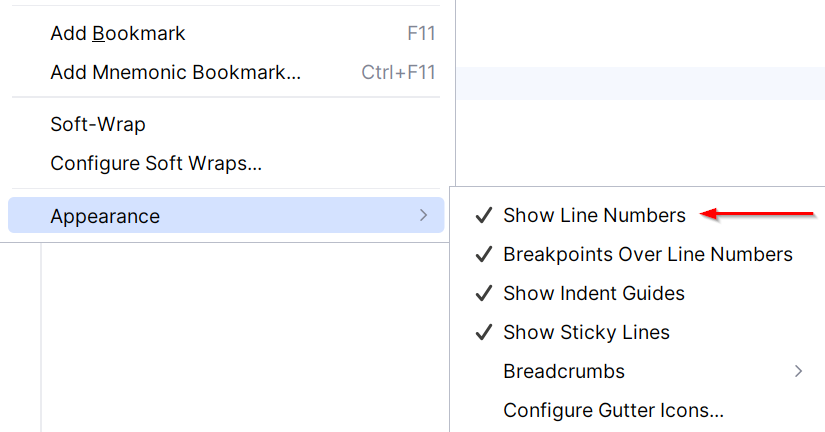
Show line numbers
In the Editor view you can display line numbers next to the lines of source code, by clicking the right mouse button in the left margin of the Editor window. Select the option Appearance ➤ Show Line Numbers in the popup menu that appears.
Modify the color of comments
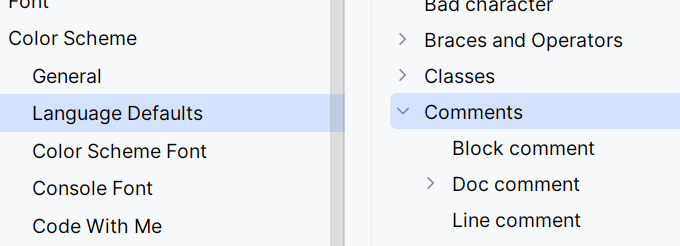
If you want to clearly separate comments from the rest of the source code, you might highlight comments in a flashy color. This can be done in the following way:
-
Navigate in the main menu to File ➤ Settings ➤ Editor ➤ Color Scheme ➤ Language Defaults ➤ Comments.
-
Here you can select a color with Line Comment or Block comment.
Note
Next to picking a color for the comments, you can also select the colors for other types of code fragments.
Tips & tricks
In what follows, we sketch some tips & tricks that we have discovered while working with the PyCharm IDE. If you discover tricks that you find useful yourself, you can always share them with your fellow students on Ufora.
How can I avoid manually entering input each time I want to execute my program?
There are several options that you can use to accomplish this, depending on the size of the input, and the frequency with which you need to pass the input to the program.
A first option is to copy the input to the clipboard (Ctrl+C) and then paste the input (Ctrl+V) in the Run console. This works both for interactive and non-interactive sessions in the console. Take care to copy a newline at the end of the input, otherwise you have to enter it manually after pasting the input. The downside of this option is that the input and output (both end up in the console, but are highlighted using a different color: input=green, output=black) are not nicely synchronized.
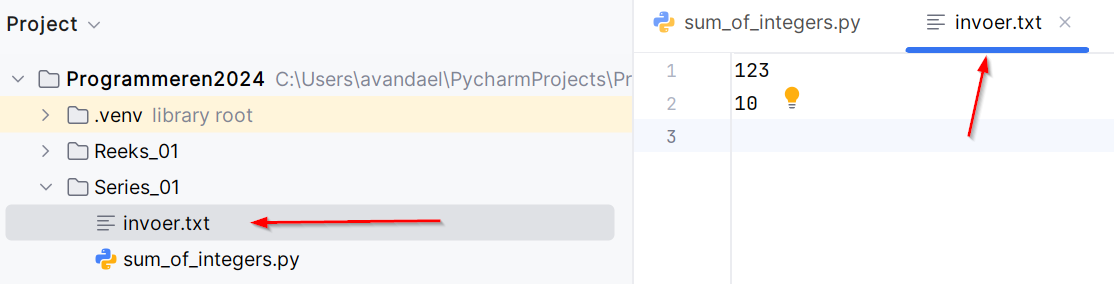
A second option is to store the input in a text file. Note that you can create such a text file in PyCharm and include it in your Python project (create a text file by navigating in the main menu to File ➤ New ➤ File). For example, you can store the input file in the same folder where you store the source code of a particular assignment. In the following PyCharm session, for example, we have created a text file input.txt that contains an input for the assignment Sum of two integers from series 01. The content of the file can either be entered manually, or you can copy-and-paste it from another file or from the web page.
Now there are a couple of options:
-
You can indicate that Python has to read its input from the file
input.txt. This is done by including the following two statements at the start of your Python script:import sys sys.stdin = open('input.txt', 'r')If you now execute the source code (Ctrl-Shift+F10), the input is directly read from the file, so that you no longer need to enter it manually.
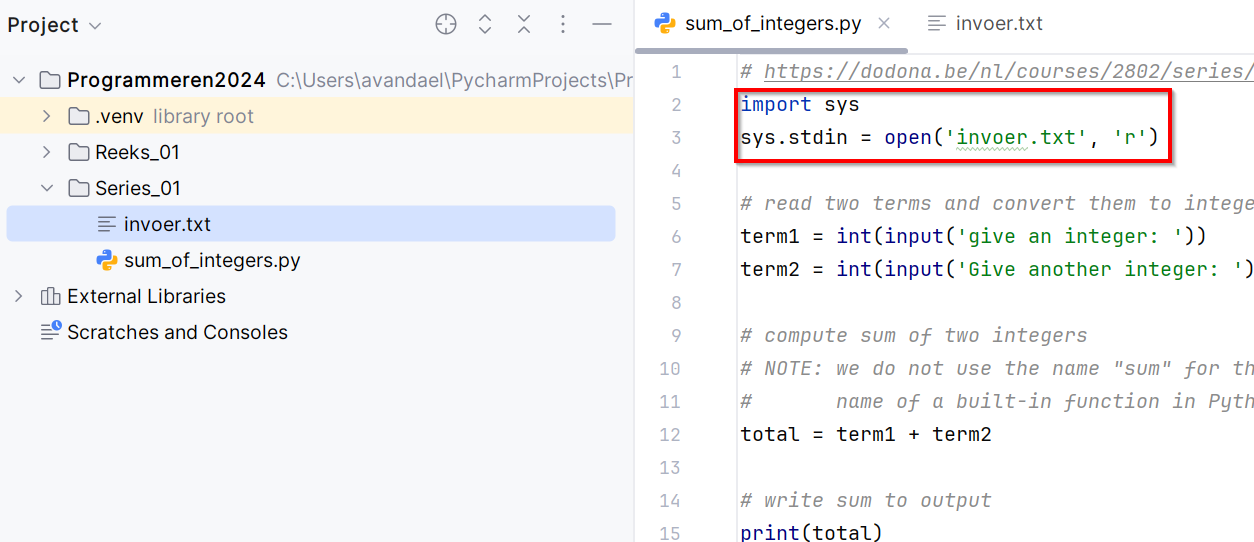
Do not forget to remove the two extra statements (or comment them out) before you submit your solution to Dodona.
-
You can also use input redirection on the command line. To do so, you need to start a terminal session outside PyCharm. If you execute your source code on the command line, you need to indicate that the input needs to be read from the file
input.txt. This is done by executing your Python program in the following way on the command line:$ python solution.py < input.txtHere
solution.pyis the file that contains the Python source code andinput.txtis the file that contains the input.
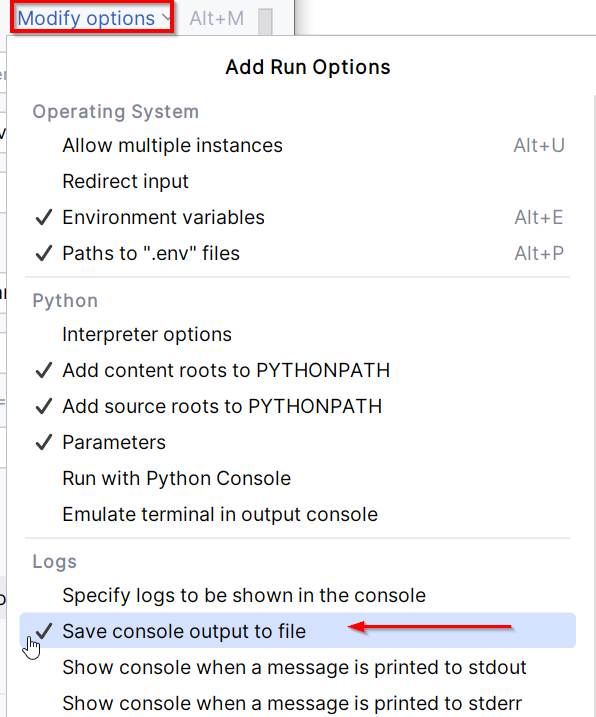
My program generates a lot of data. How can I make sure that the output is stored in a file, instead of being generated in the Console view?
If you want to manipulate a file object directly from within your source code, you will have to use the properties and methods of file objects (see chapters 5 and 14 of the course book).
If all you want to do, is to make sure that the output of the print is written to a text file, you can navigate in the main menu to Run ➤ Edit Configurations ➤ Modify options ➤ Save console output to file and enter the location of the file that needs to contain the generated output.

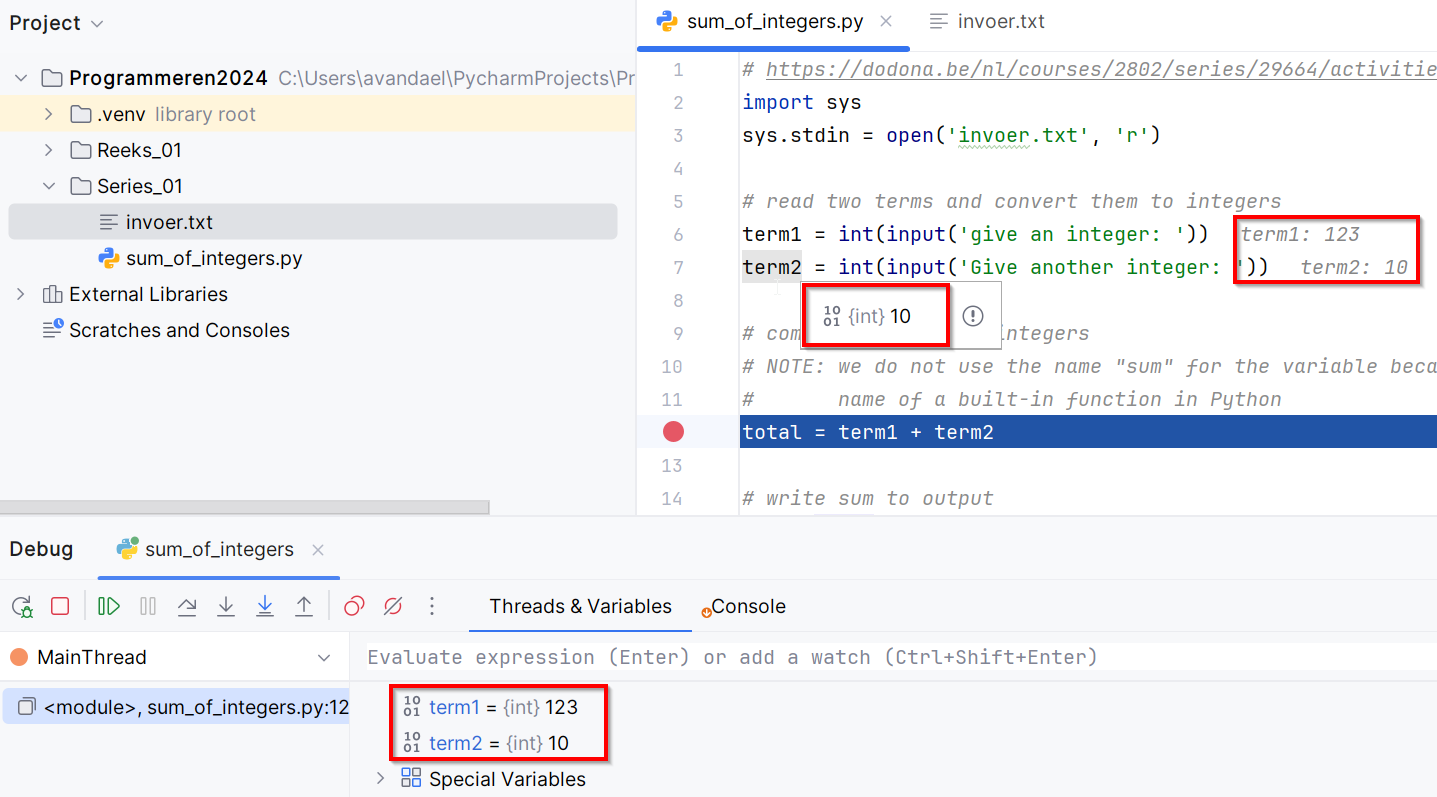
How do I know which values are assigned to my variables during debugging?
The Debugger toolwindow contains a Threads & Variables tab in which you get to see a table that contains all variables with their associated values and datatype. A variable’s value is also displayed in the editor-window during debugging or you could also check a variable’s value by hovering over the variable with your mouse in the source code. A popup then appears in which the value and datatype are displayed.
How can I stop program execution when a program is stuck in an infinite loop?
Clicking the red Stop button in the Run window causes the current console session to stop. The same quick menu also gives you the option to stop and remove all consoles whose session has stopped.

How do I locate the Python executable on macOS?
First we need to launch the Terminal application. Launch the application and enter the command which python3 in the newly opened window and press enter. The result you get is the location of the Python executable.